- DIY Guides
- March 9, 2026
How to Make a DIY Roll Top Saddle Bag
Jared Kukura
Executive BIkefisher
These step-by-step instructions will help you make a DIY roll top saddle bag for your bike. This simple bag design has four components and minimal sewing for a quick and easy process.
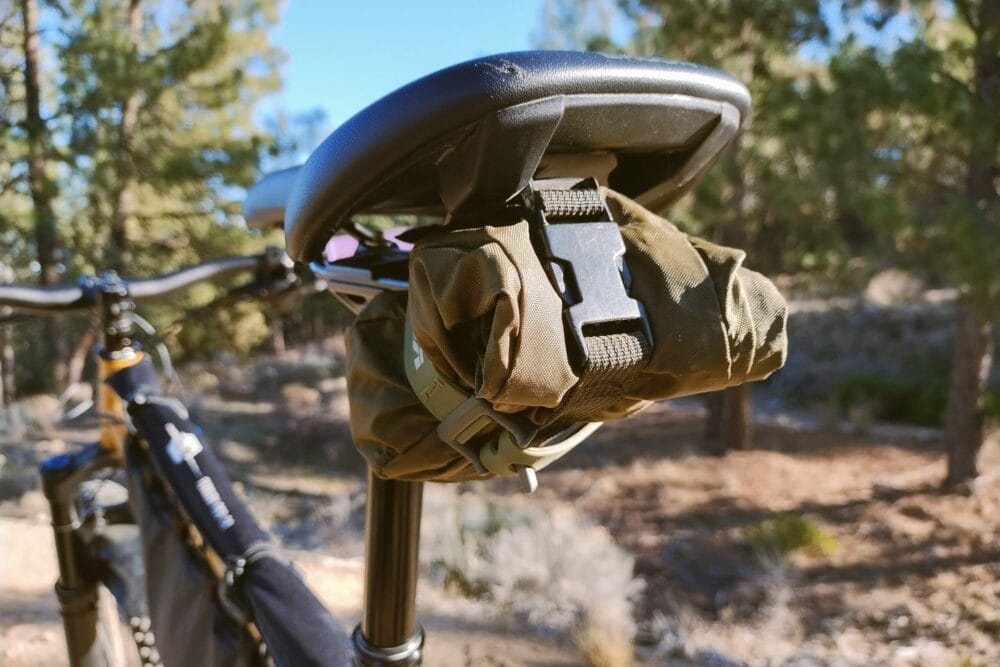
I use my roll top saddle bag under my Ritchey Ultra’s saddle. I pack a multitool, spare tool, patch kit, and tubeless plugs in the bag. I prefer to keep my essential bike tools in the saddle bag instead of the wedge frame bag for easy access.
Materials Used
- Challenge ECOPAK fabric
- 3/4-inch nylon webbing
- 3/4-inch side release buckle
- 1-inch grosgrain
Step-By-Step Instructions
1. Determine the roll top saddle bag dimensions: Take the tools you plan to place in the bag and estimate the general dimensions of the bag. I wanted my closed bag to be 5” long x 3” wide x 2” tall. I doubled the length measurement for the roll top closure. My open bag dimensions are 10” long x 3” wide x 2” tall.
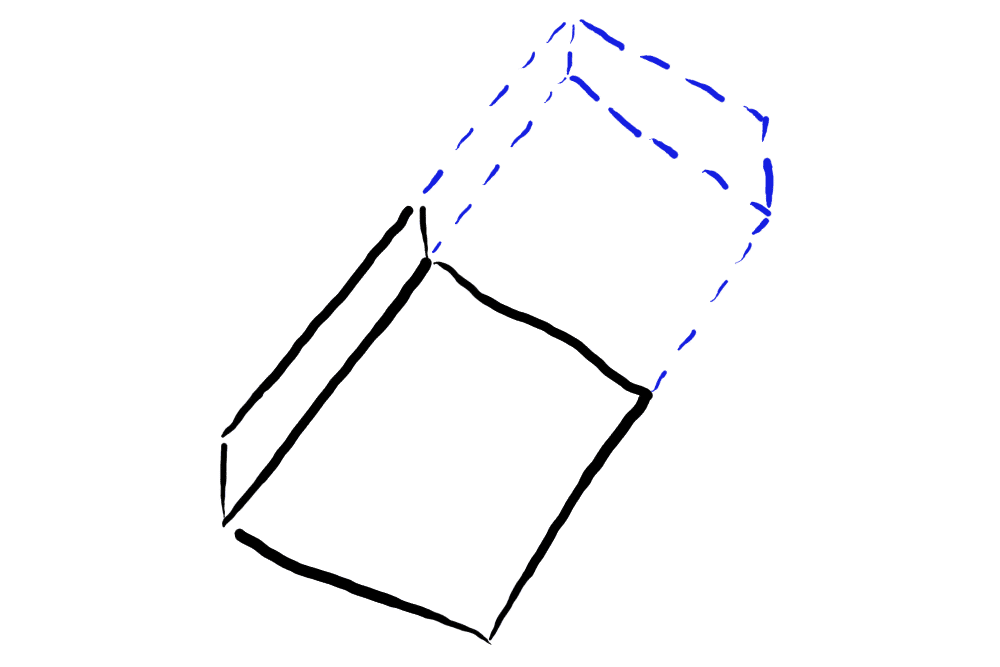
2. Measure and cut the two body panels: Cut two body panels with the length and width measurements, plus seam allowance. Mark 1/2 inch from the two bottom corners of the body panels. Draw a straight line between the two marks and cut off the corners.

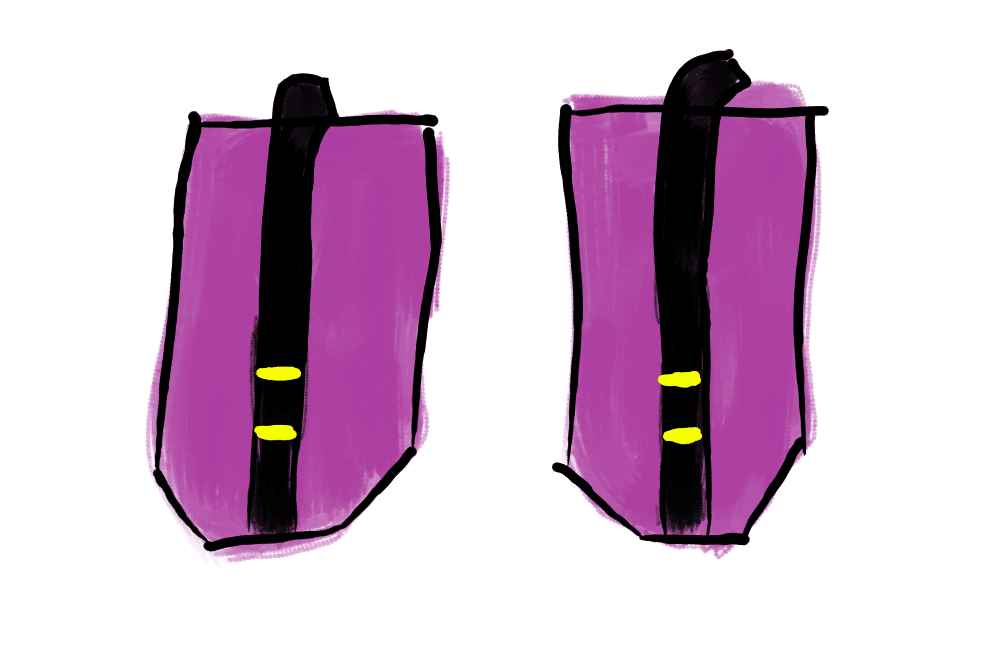
3. Measure and cut the webbing: My side release buckle is 2 inches tall when connected. I want the buckle to fall directly onto the closed side of the bag. This means I need my webbing to be 5 inches long to cover the length of the top and bottom body panels.
Cut two pieces of webbing to accommodate seam allowance and excess needed to attach to the side release buckle. I cut a 9-inch piece of webbing for the male portion of the buckle and a 6-inch piece of webbing for the female portion of the buckle.
4. Sew the buckle to the webbing: Pull 1 inch of webbing through the female portion of the buckle and sew it closed over itself. Insert the nylon webbing through the friction slider on the male portion of the buckle.
5. Sew the webbing to the body panels: Sew the non-buckle ends of the nylon webbing to the edge of the bottom edge of the body panels where the 1/2-inch corners were removed. Sew a daisy chain into each webbing on the body panel to create a 1-inch strap attachment point.
6. Measure and cut the middle panel: Measure the outside edge of a body panel to determine the length of the middle panel. Do not include the open edge in the measurement. Cut the fabric to match the length and width, plus seam allowance.
7. Sew the middle panel to the two body panels: Sew each lengthwise edge of the middle panel along the three sides of each body panel to form an inside-out box.
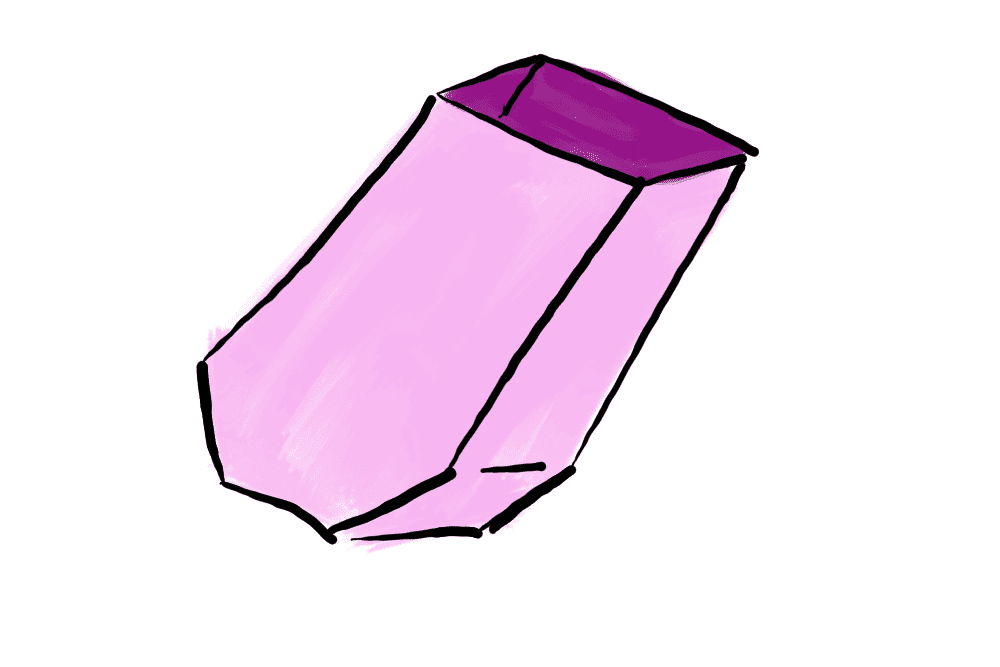
8. Finish the seams with grosgrain: Sew grosgrain along the seams of the connected body panels.
9. Finish the open edge with grosgrain: Sew grosgrain along the open edge of the bag.
10. Flip the bag right-side out: Everything should look good at this point. Break out the seam ripper and resew areas that look wrong.
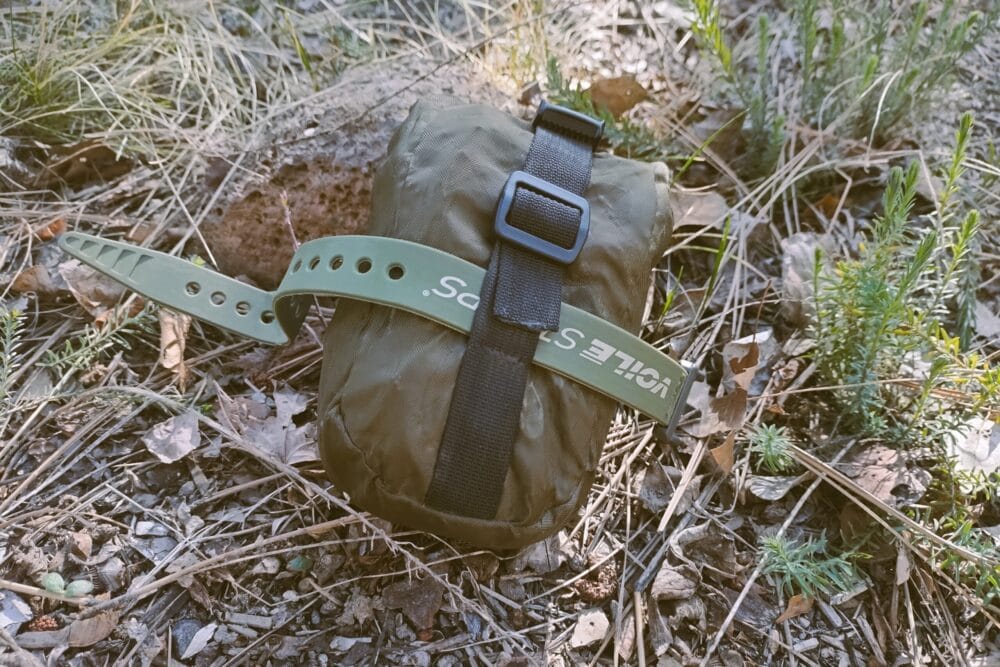
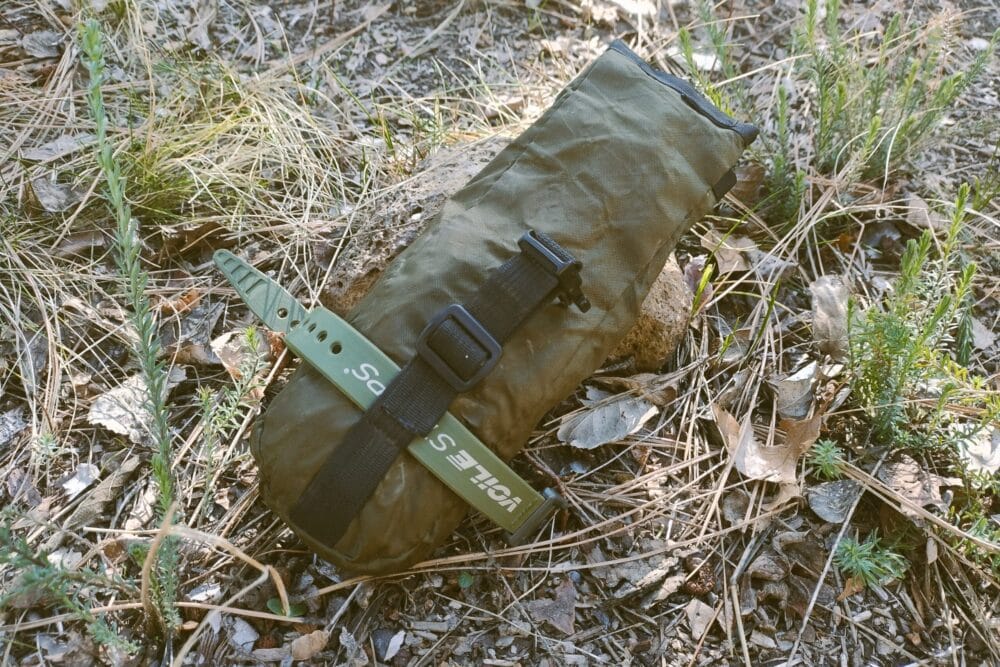
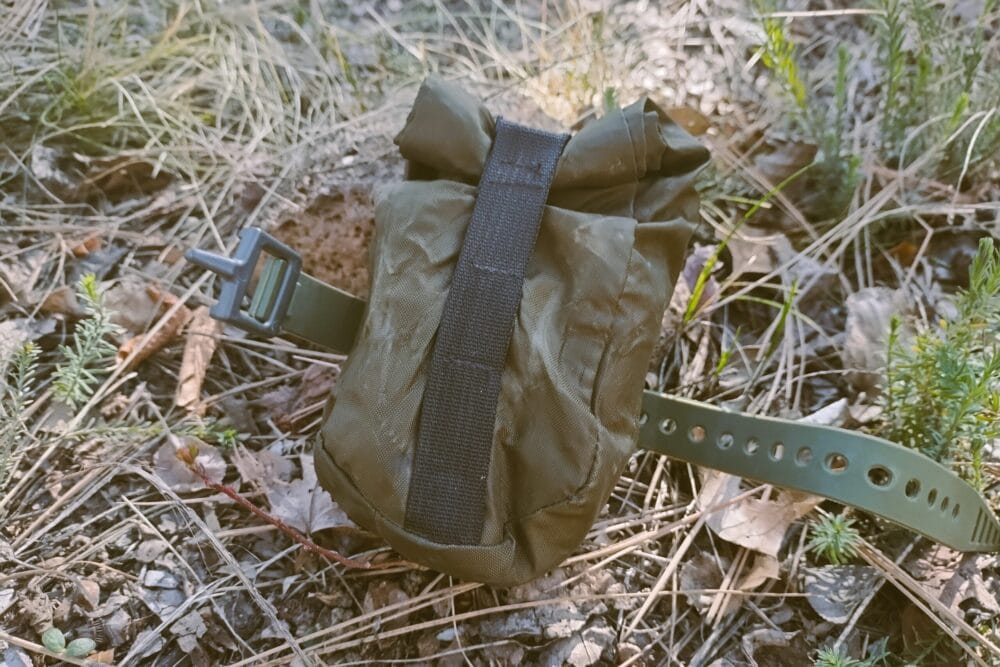
11. Attach the bag to the bike’s saddle rails: Insert a strap through the webbing attachment point on the top body panel. Put both ends of the strap through the saddle rails from inside to out. Wrap the open end of the strap around the bag and through the webbing attachment point on the bottom body panel. Pull the strap up through the connector and cinch it tight.

Additional Notes
- I use a 3/8-inch seam allowance when I sew bags. You may want a different seam allowance depending on your skill level and if there is padding between fabric layers.
- I use a 12-inch Voile strap to attach the bag to the saddle rails. Make your own strap with 3/4-inch webbing and a side release buckle.
- Sew a liner fabric to the inside of the outside fabric for extra durability.
Share this
Read More
- All Posts
- Bikefishing 101
- Blog
- DIY Guides
- Gear Reviews
- Quests