- DIY Guides
- February 18, 2026
How to Make a DIY Wedge Frame Bag
Jared Kukura
Executive BIkefisher
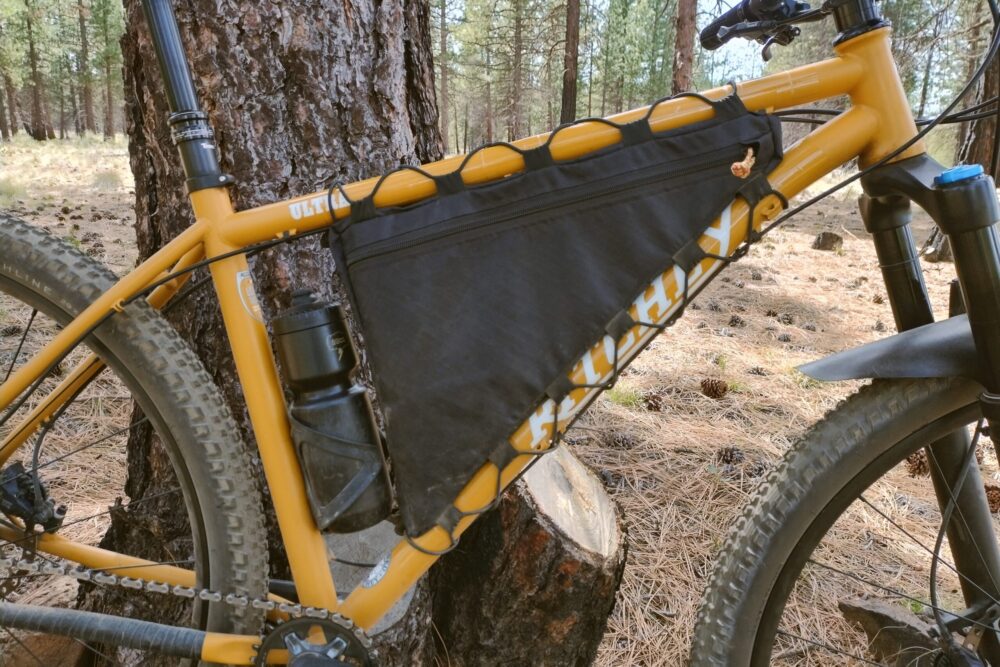
These step-by-step instructions will help you make a DIY wedge frame bag for your bike. This bag design keeps the features to a minimum to maintain simplicity. The bag straps to the bike using a lace-up technique that is easily adjustable.
I use a wedge frame bag on my Ritchey Ultra to carry my hand pump, snacks, water filter, sunscreen, and basic bikefishing gear. The wedge style allows me to run a full-size 26-oz water bottle on the seat tube.


Materials Used
- Challenge ECOPAK fabric
- Ripstop nylon fabric
- 2mm foam padding
- YKK #8 zipper and slider
- 1-inch grosgrain
- 1/8-inch shock cord
- Cord locks
Step-By-Step Instructions
1. Determine the dimensions of the frame bag: Empty the bike’s front triangle except for the bottle and cage on the seat tube. Place a piece of cardboard against the side of the front triangle. Trace the area that you want the bag to fill onto the cardboard.
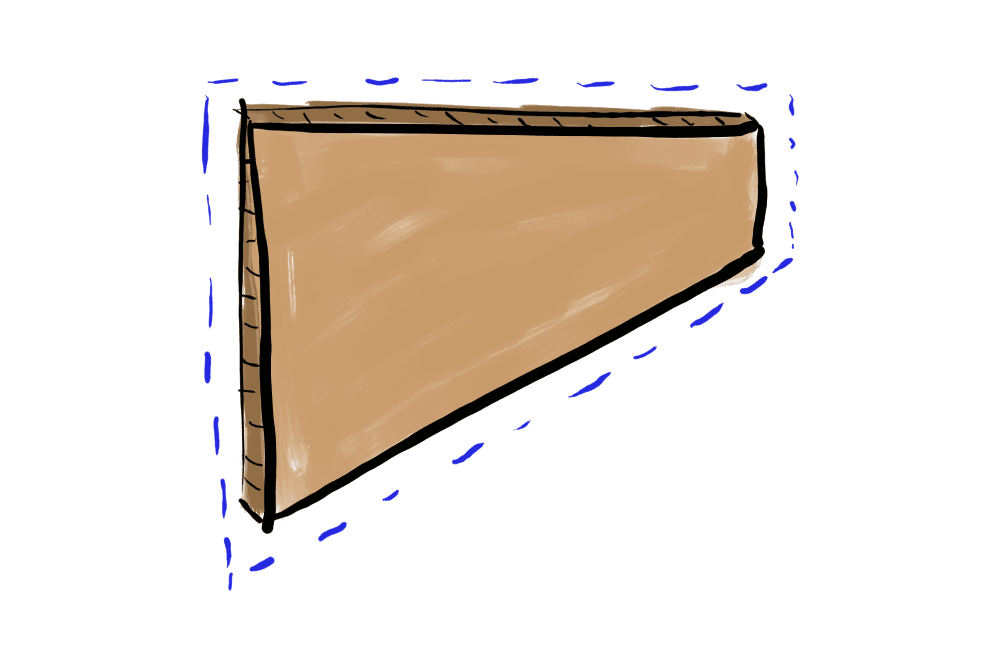
2. Measure and cut the two body panels: Add your seam allowance to the cardboard template before or after cutting. Trace the template with the seam allowance onto the fabric and cut out two body panels. Ensure that you flip the template over between panels so that you get the correct orientation on both sides.
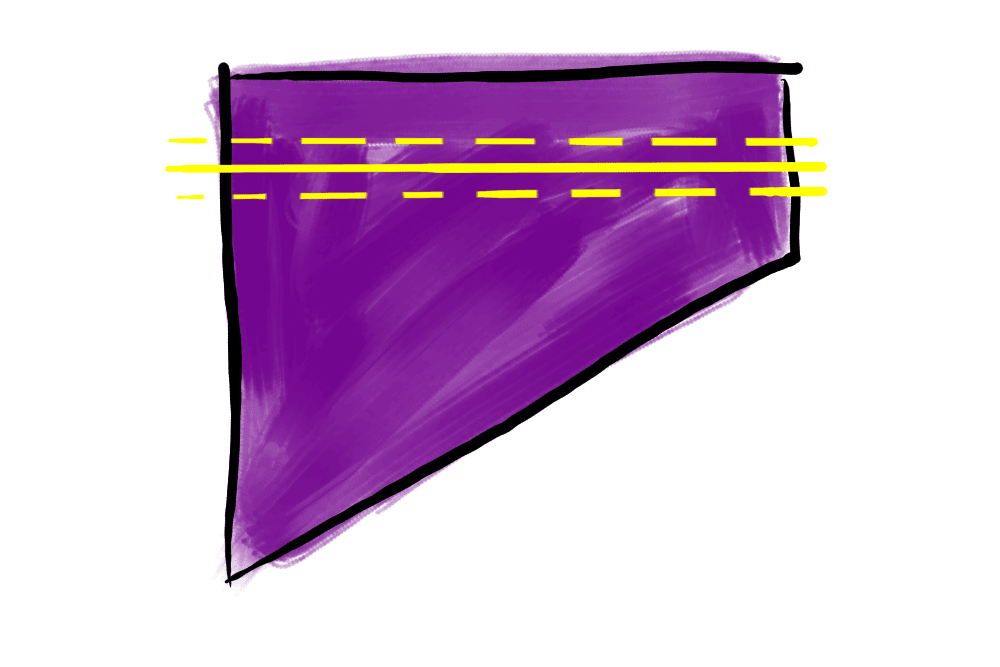
3. Measure, and cut the zipper: I set the middle of my zipper to land 1 and 1/4 inches below the top of the bag. I measure a straight line 1 1/4 inches, plus seam allowance, below the top of the body panel from the seat tube to the head tube sections of the bag. Then I cut the zipper to length.
4. Determine where to sew the zipper: Measure the height of the zipper fabric. My zipper fabric is typically 1 1/2 inches tall, and I utilize 1/2-inch seam allowances on each side of the body panels. I have a 1/2-inch strip of fabric that I need to remove from the body panel.
1.5 – (0.5×2) = 0.5
Draw a straight line across the body panel where the middle of the zipper will go. Draw lines 1/4 inch above and below that middle line to make a strip of 1/2-inch tall fabric to cut out.
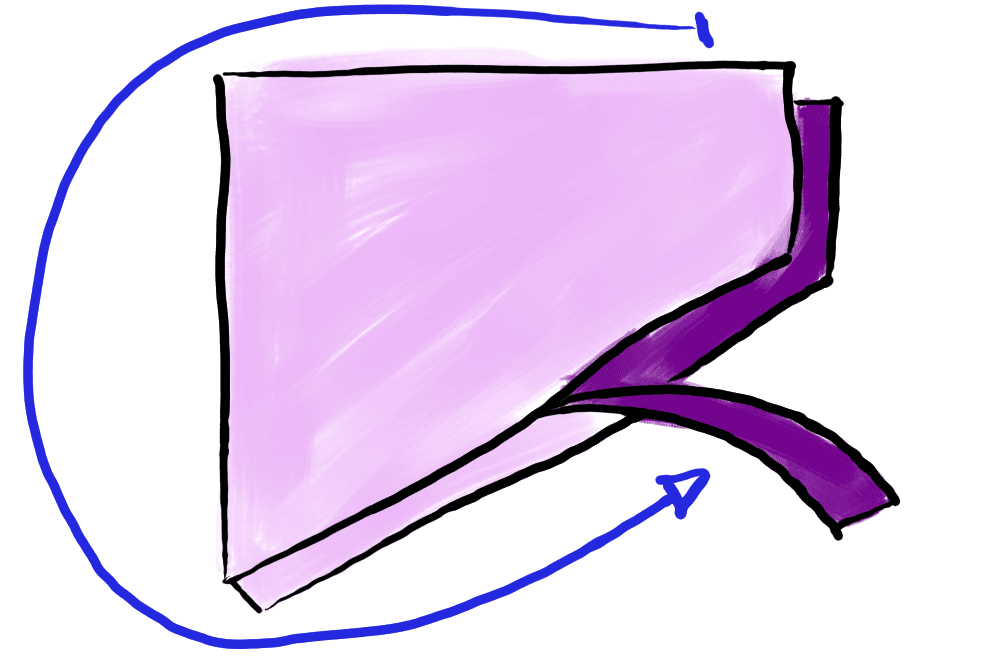
6. Sew the lace-up attachment points: Determine the number of attachment points needed for your bag. My rule of thumb is one attachment point for every 3 inches of fabric. My bag is roughly 15 inches long on the top tube and 18 inches long on the downtube so I’ll use 5 attachment points on the top and 6 attachment points on the bottom. Double that number for two sides, and I get 22 total attachment points.
Each attachment point is a 2-inch length of 1-inch grosgrain folded over itself.

7. Measure and cut the middle panel: I set the width of my middle panel to 2 inches plus seam allowance on both sides. Measure the total outside length of one body panel. Add 1/2 inches to both ends, plus an additional 1 to 2 inches. Cut the fabric to length.
8. Sew the middle panel to the two body panels: Fold the ends of the middle panel over twice in 1/4-inch increments. Sew the ends closed to prevent loose fabric.
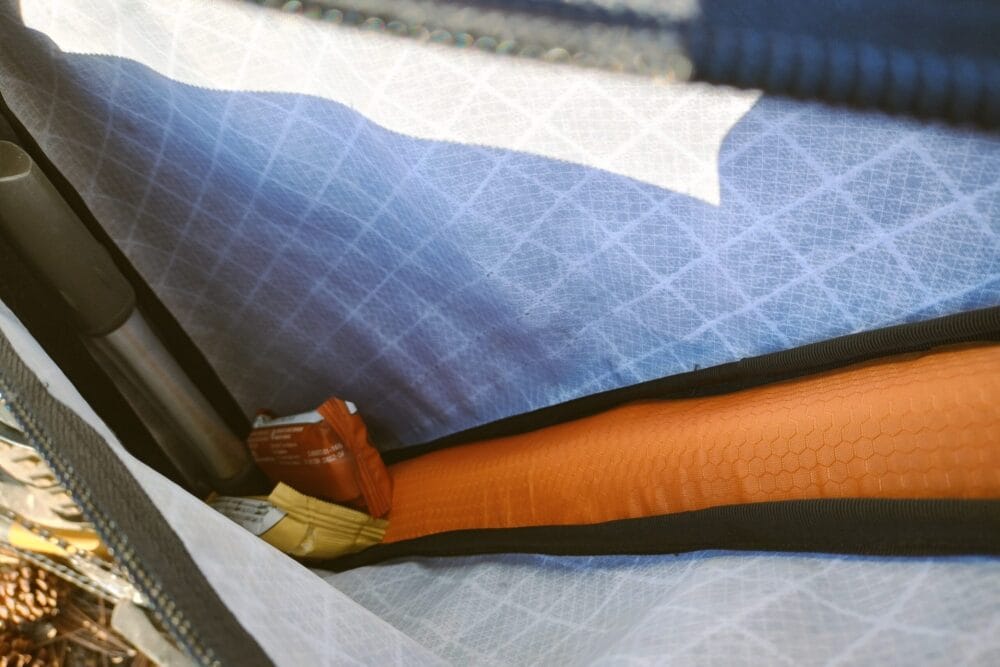
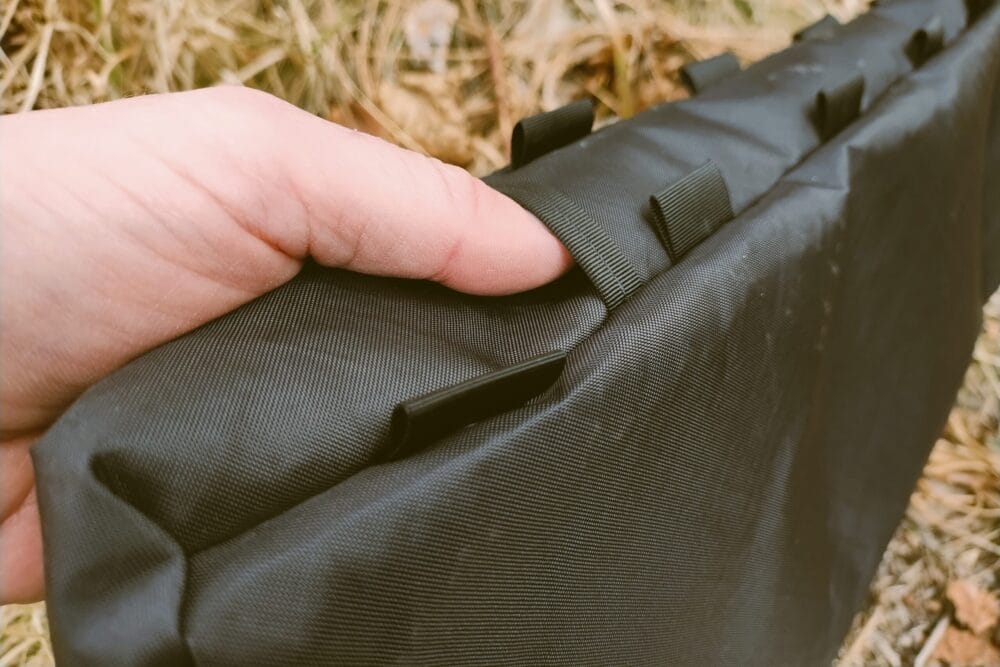
Begin to secure the middle panel to the body panels 2 inches from the headtube portion and work your way back along the top tube portion towards the seat tube portion. Ensure that you secure the panels together to form an inside-out bag. You will notice that there is an overlap between the ends of the middle panel once it comes all the way around the bag. This creates a storm flap opening to run wires or hoses through the bag once it is complete.
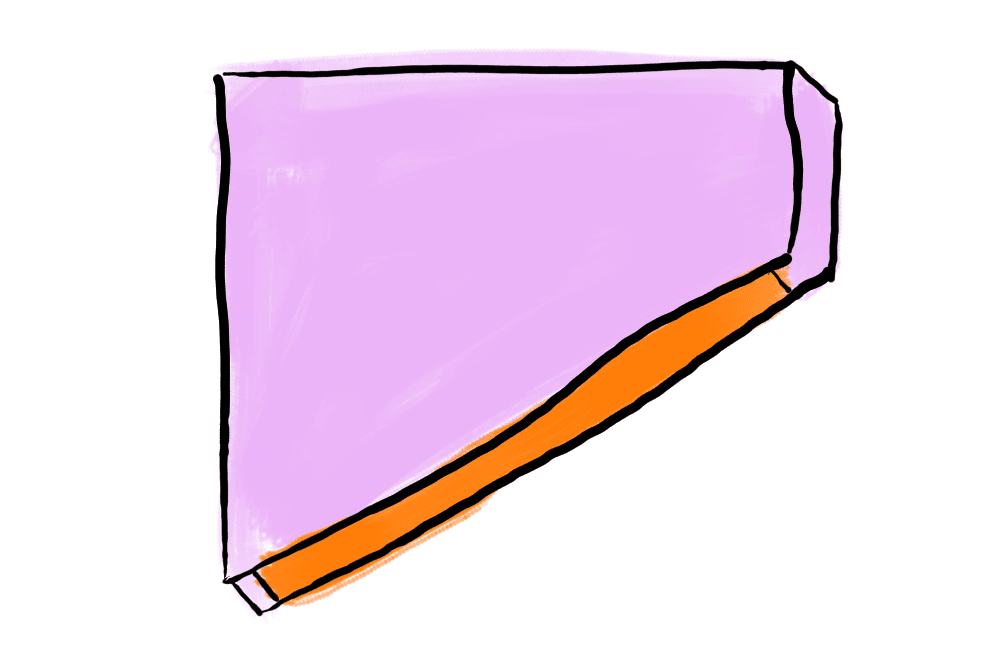
9. Measure, cut, and sew the liner fabric and foam padding: Measure the length and width of the downtube section of the bag. Cut the liner fabric to match those dimensions. Fold the ends of the liner fabric over twice in 1/4-inch increments. Sew the ends closed to prevent loose fabric.
Measure and cut out a piece of foam padding that is slightly smaller in width and length than the liner fabric. Sew the liner fabric to the bag. You can lay the foam padding first before sewing the liner fabric and encase the foam padding on all four sides. You can also sew the liner fabric lengthwise, leaving the ends open, and then slide the foam padding.
10. Finish the seams with grosgrain: Sew grosgrain along the seams of the connected body panels.
11. Flip the bag right-side out: Congratulations! Don’t worry if you spot a mistake. Use a seam ripper to undo any problem areas and sew it back up correctly. There are no mistakes, just opportunities to learn.
12. Measure, cut, and fit the shock cord lacing: Determine the appropriate length of shock cord you need for the top tube and downtube sections. Lace the shock cord through the grosgrain attachment points starting at the head tube and working your way back on the bag using a crisscross pattern. Add cord locks and tie off each end of the shock cord lace-up.

Additional Notes
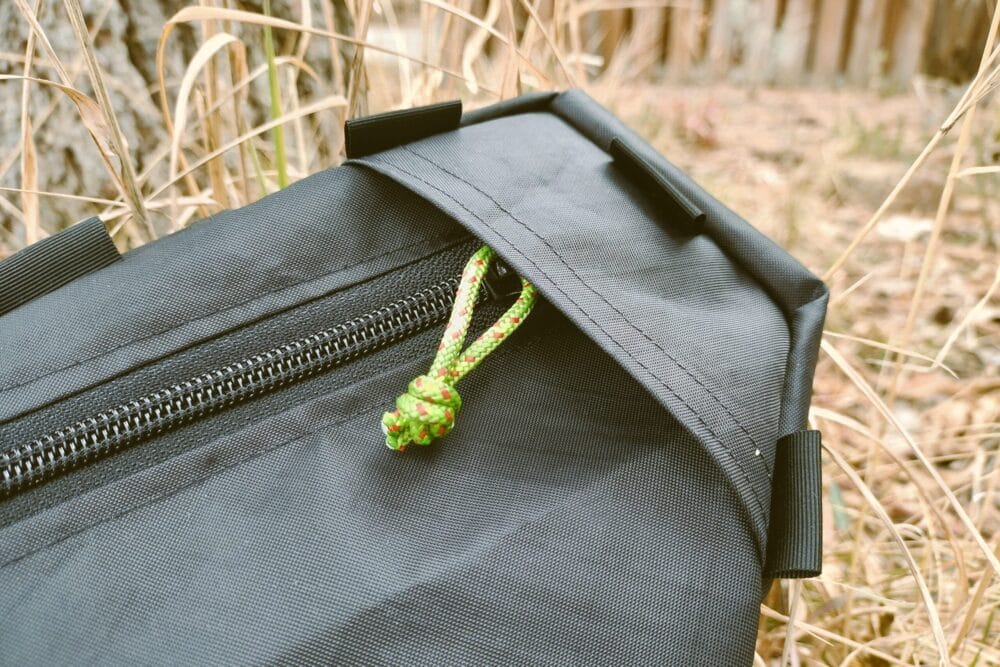
- I cut the metal pull tab off my zipper sliders because they make annoying noises on the bike. I take a 6-inch piece of paracord and tie it in a loop through the open space on the zipper slider.
- I use a 3/8-inch seam allowance when I sew bags. You may want a different seam allowance depending on your skill level and if there is padding between fabric layers.
- You can sew a daisy chain with 1-inch webbing inside the bag along the top tube to create a platform to strap a small hand pump.
- You can sew a pull tab at the start of the zipper with 1-inch webbing to make it easier to close the zipper.
- You can apply protective tape to the frame before mounting the bag to prevent paint damage.
Share this
Read More
- All Posts
- Bikefishing 101
- Blog
- DIY Guides
- Gear Reviews
- Quests