- DIY Guides
- March 23, 2026
How to Sew Zippers for MYOG Bags and Gear
Jared Kukura
Executive BIkefisher
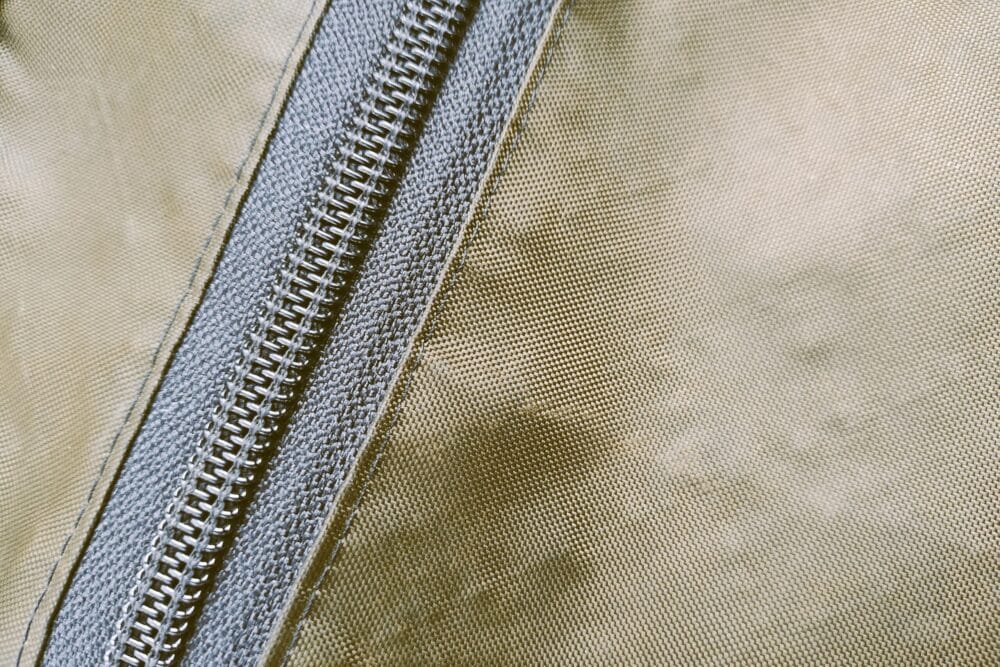
Zippers are common in MYOG bags and gear, so it helps to take the time to learn and practice. The step-by-step instructions listed below give clean transitions from the fabric to the zipper back to the fabric. You sew four distinct seams that ensure the finished product will be durable enough for use on the trails. I use this method for bike bags, sling packs, trail running packs, and pretty much anything else.
Some Notes Before Sewing
- I prefer nylon coil zippers to plastic molded zippers. My go-to choice is the #8 YKK coil zipper.
- I insert the zipper slider after I finish sewing the fabric panels to the zipper. This keeps the fabric and zipper flat and straight during the sewing process.
- I use fabric that doesn’t easily fray (X-Pac and ECOPAK). Consider sewing grosgrain over the fabric and zipper edge if you use fabric that is prone to fraying.
- You should decide if you want to sew a zipper garage before sewing the zipper. I use two zipper garage options. Option A is sewn to the zipper before sewing the fabric panels to the zipper. Option B is sewn to the fabric panels and zipper after sewing the fabric panels to the zipper.
Step-By-Step Instructions
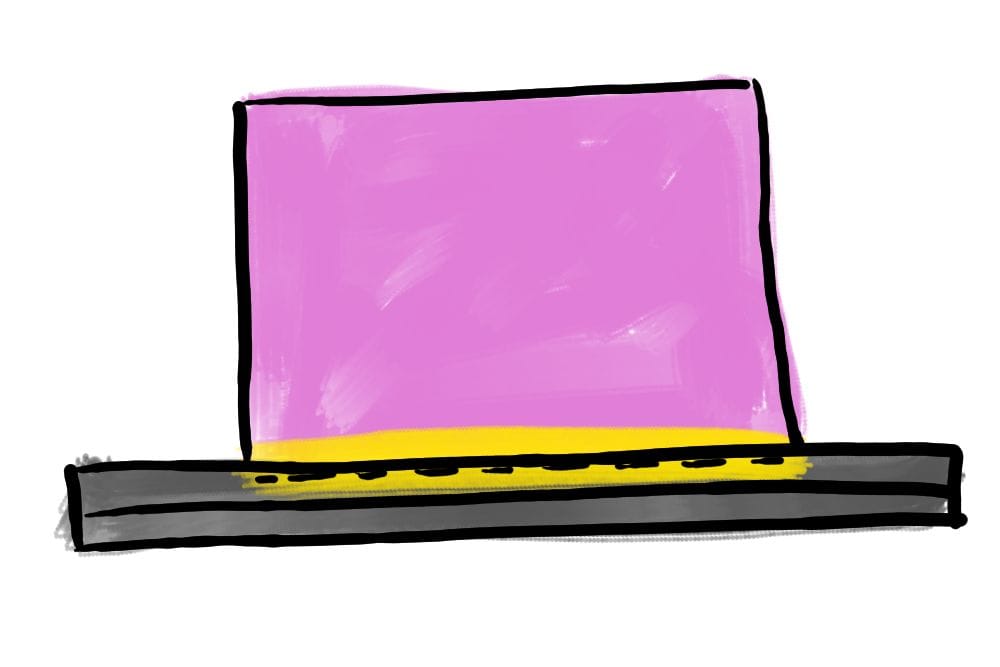
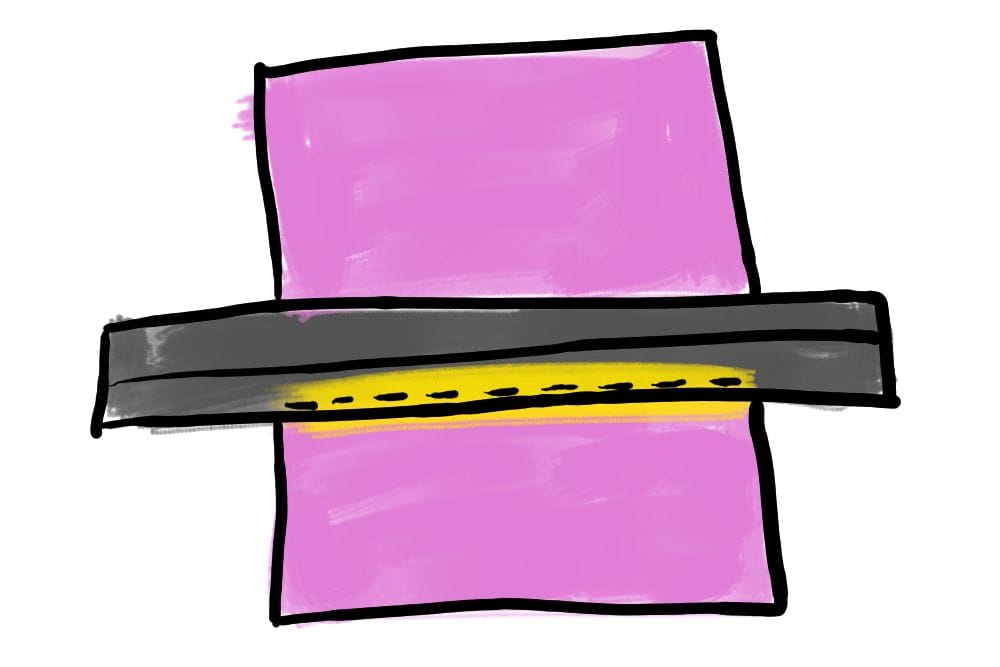
1. Lay the top fabric panel on a flat surface with its outside facing you. Place the zipper below the fabric panel with the outside of the zipper facing you. Align the top edge of the zipper and the bottom edge of the fabric panel.
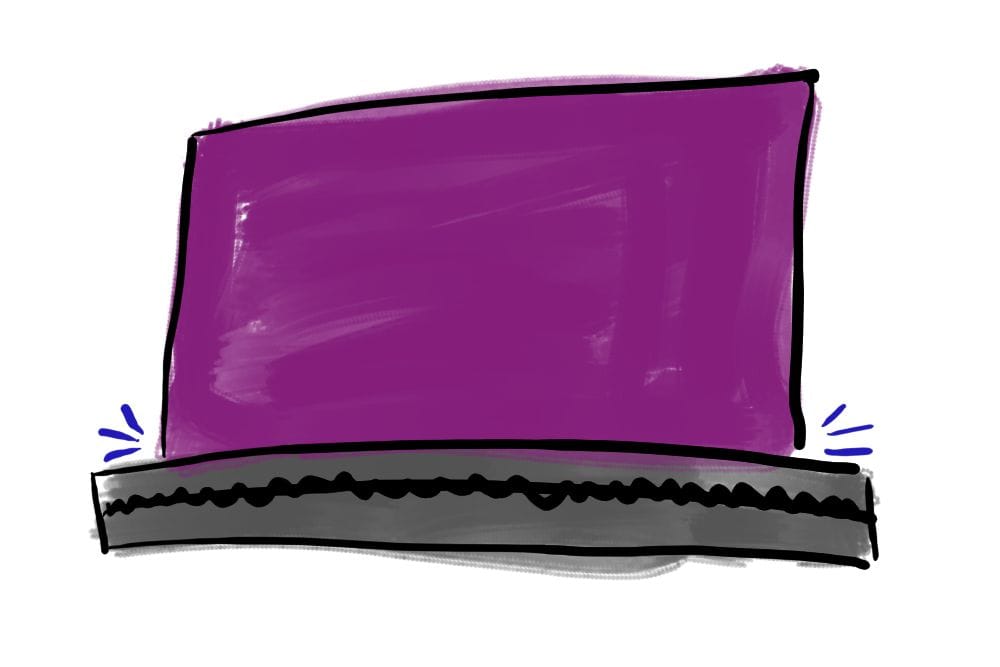
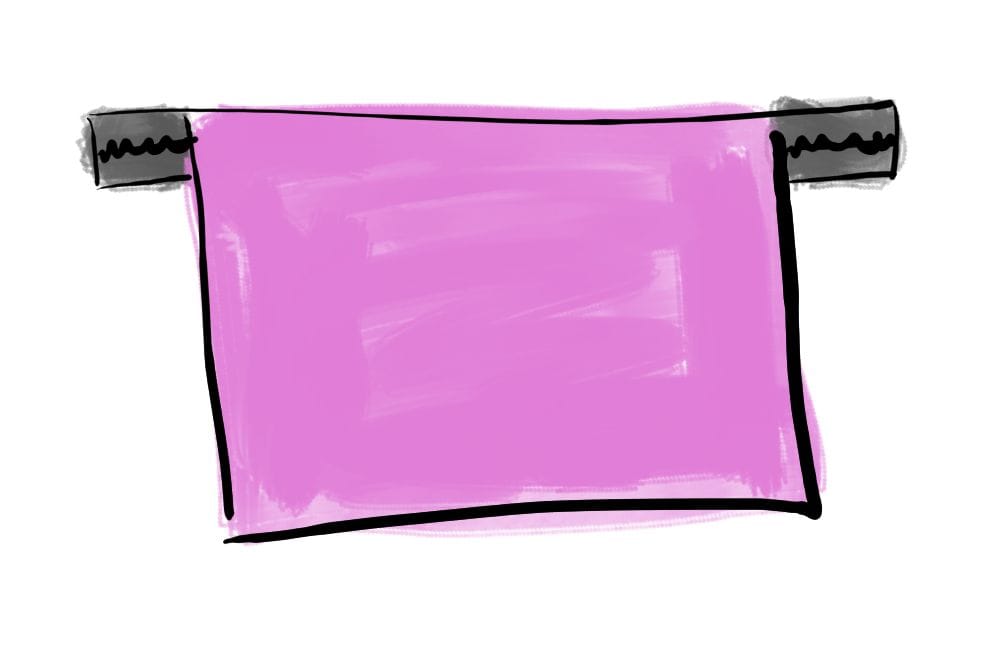
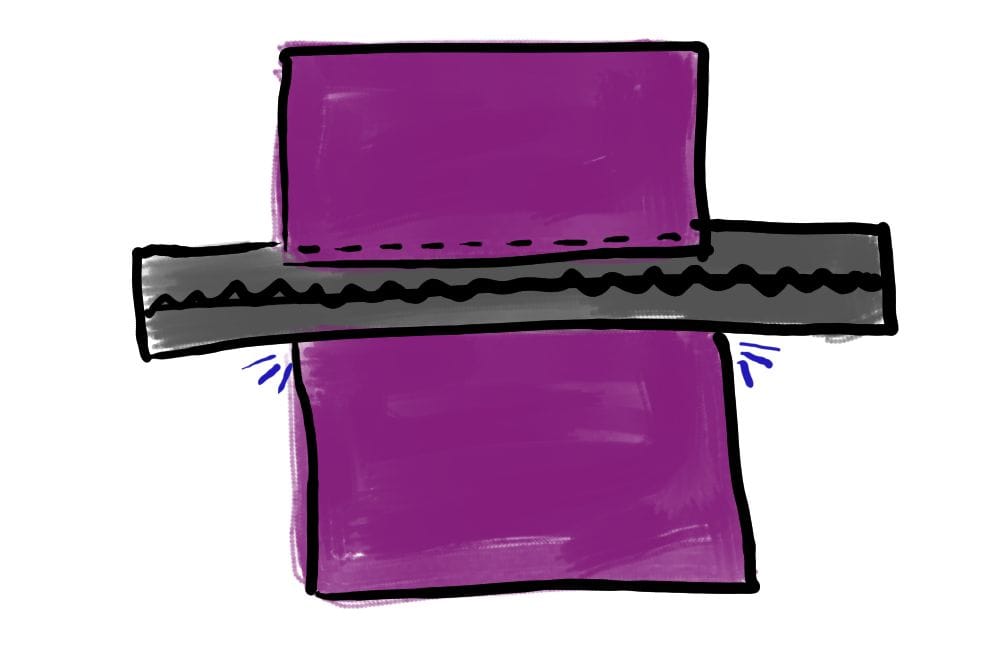
2. Take the top edge of the fabric panel and flip it 180 degrees along the y-axis while maintaining the fabric panel’s bottom edge position at the top edge of the zipper. The result should have the fabric panel and zipper’s top edge overlapping with the fabric panel’s inside facing you.
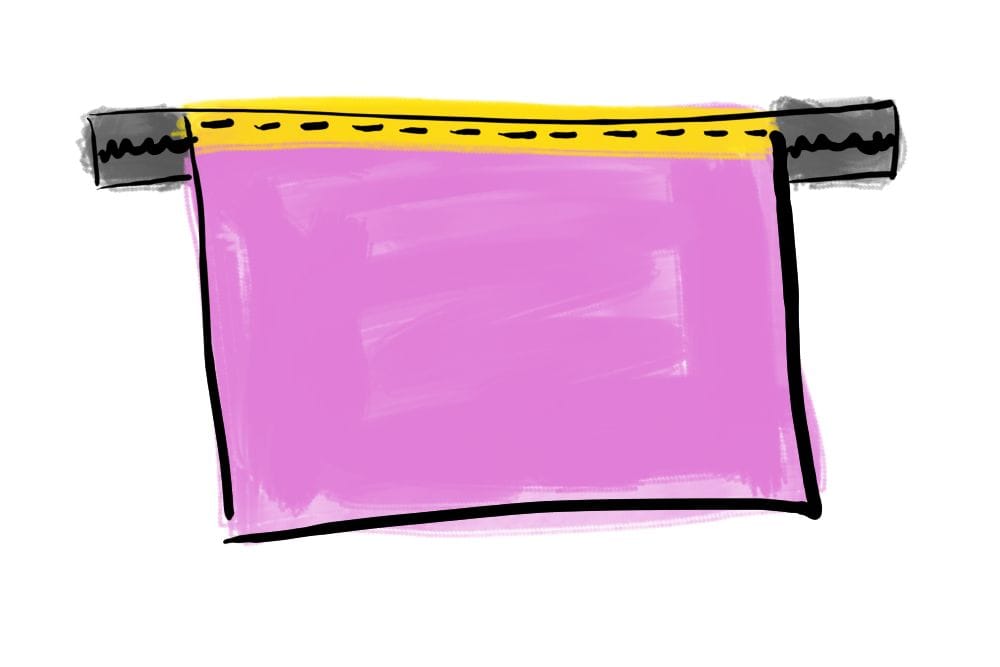
3. Sew the length of the zipper 1/4 inch below the top edge of the fabric panel and zipper.
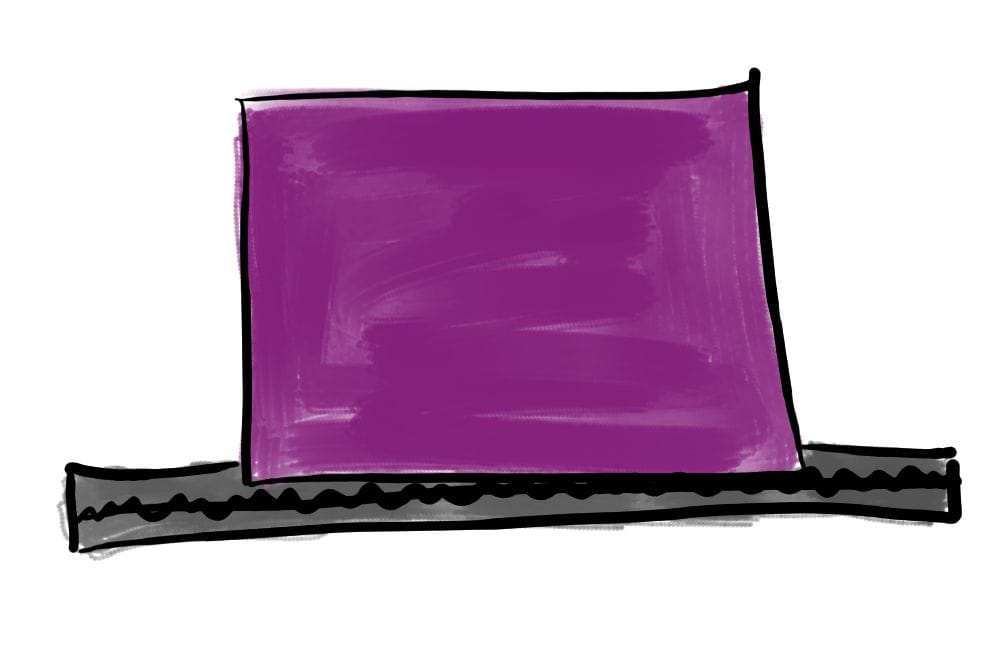
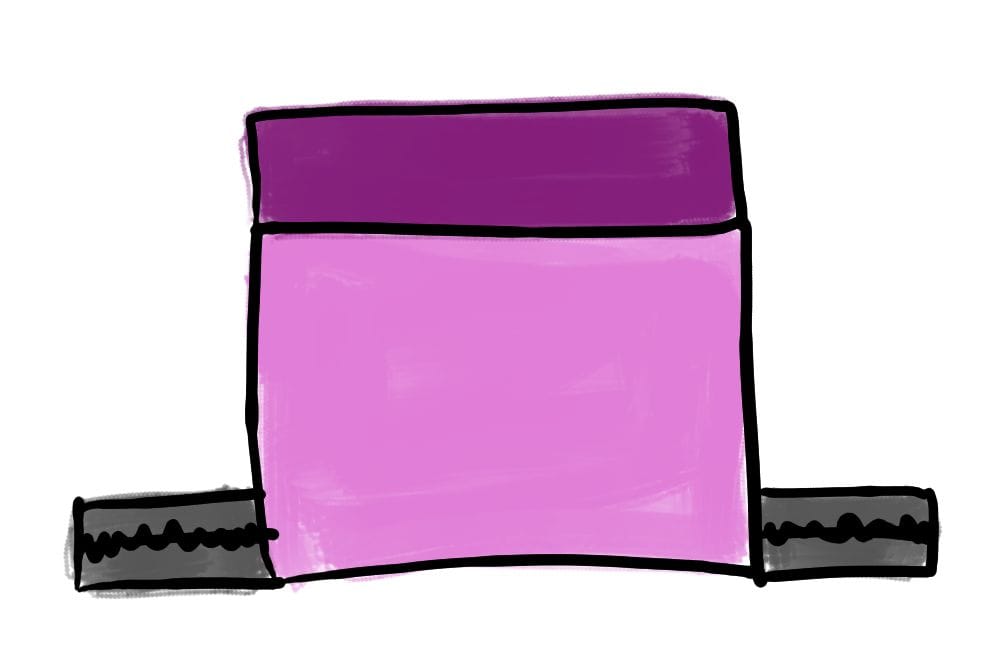
4. Take the edge of the fabric panel that is opposite the seam and flip it 180 degrees along the y-axis. The result should have the zipper on the bottom and the fabric panel folded above the seam, with the fabric panel’s outside facing you.
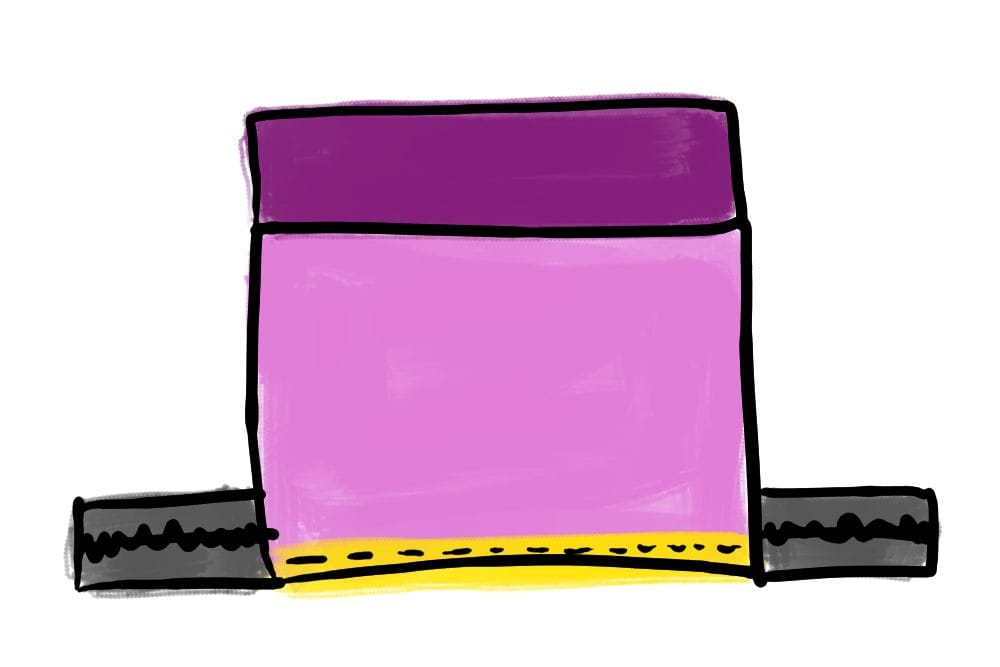
5. Flip the fabric panel and zipper over so that both have their inside facing you. Sew the length of the zipper along the top edge of the zipper.
6. Lay the bottom fabric panel and the zipper on a flat surface with its outside facing you. Place the fabric panel below the zipper with the outside of the fabric panel facing you. Align the top edge of the fabric panel and the bottom edge of the zipper.
7. Take the bottom edge of the fabric panel and flip it 180 degrees along the y-axis while maintaining the fabric panel’s top edge position at the bottom edge of the zipper. The result should have the fabric panel and zipper’s bottom edge overlapping with the fabric panel’s inside facing you.
8. Sew the length of the zipper 1/4 inch above the bottom edge of the fabric panel and zipper.
9. Take the edge of the fabric panel that is opposite the seam and flip it 180 degrees along the y-axis. The result should have the zipper on the top and the fabric panel folded above the seam with the fabric panel’s outside facing you.

10. Flip the fabric panel and zipper over so that both have their inside facing you. Sew the length of the zipper along the bottom edge of the zipper.
11. Flip everything so that the outside of the fabric panels and zipper face you. You should see two seams – one 1/4 inch above the bottom edge of the top fabric panel and another 1/4 inch below the top edge of the bottom fabric panel.
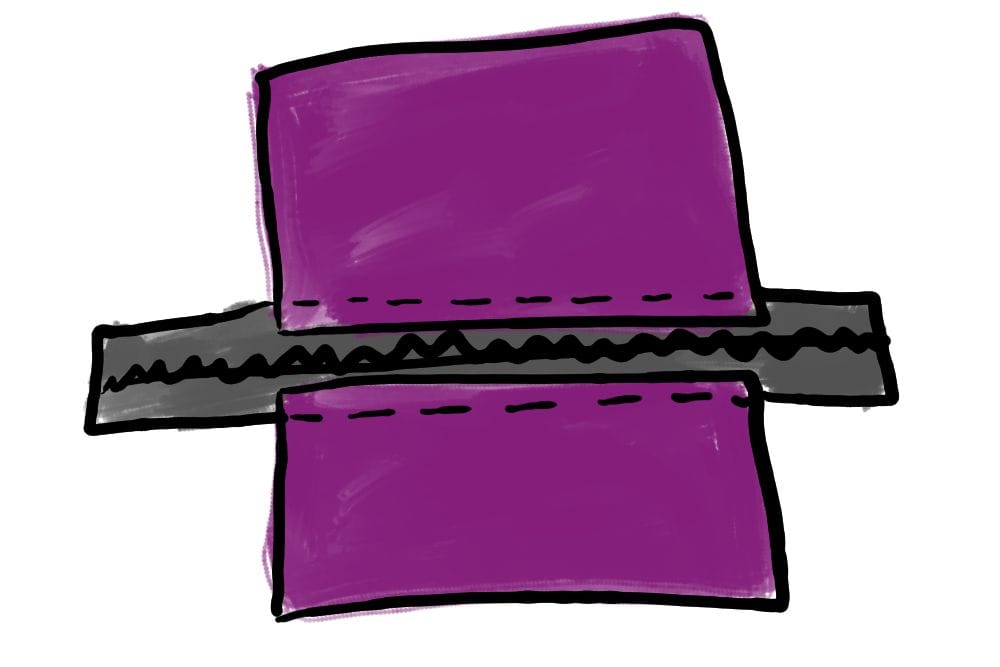
Congrats! You did it!
Share this
Read More
- All Posts
- Bikefishing 101
- Blog
- DIY Guides
- Gear Reviews
- Quests